If you ever gave up about a camera because of missing or broken ground-glass you will regret about it after reading this post. It is very easy to produce a high quality ground-glass for replacement or for a new project for a large-format camera. Nowadays when old processes, old lenses and cameras are getting more and more attention, this is certainly something that may turn out very useful in many ways.
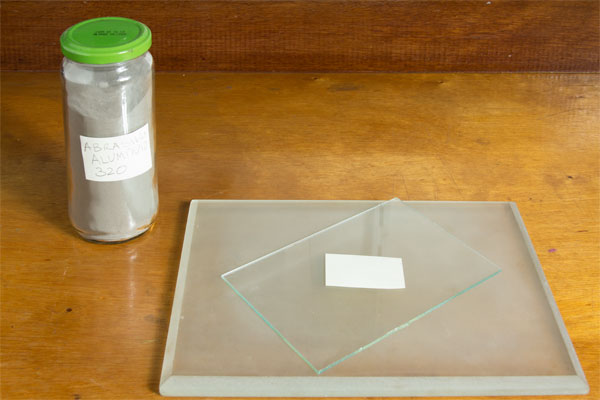
All you need is grit, and two pieces of glass. One will serve as a basis and the other is the one to use as ground glass. I researched and tested different types and sizes of particles and the one that worked best is aluminium oxide 320, this is the grit size. The glass is nothing special provided it has the thickness compatible with the equipment it is intended for.
Once I bought a box plenty of parts of lenses and other photographic material and this 10 mm thick glass came along. I am using it and I think that it might be more efficient if the surface has already that typical mate surface because it probably traps the particles and in this way the new glass gets scratched faster.
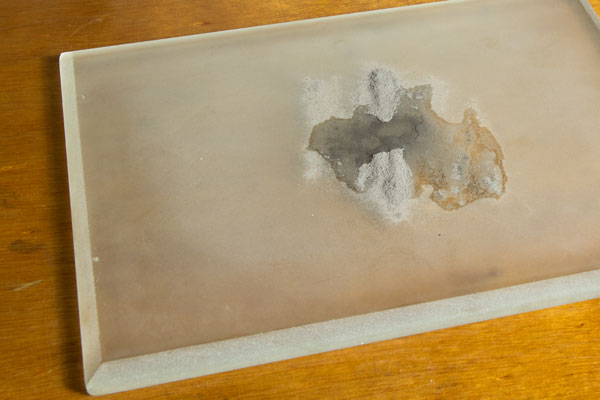
I apply just a coffee spoon and one or two cm3 of water. I don’t like to replenish the grit during the process because it seems to me that it also becomes finer as you work on it. In this way I think the final finish gets smoother and free of more visible scratches.
[mks_col]
[mks_one_half]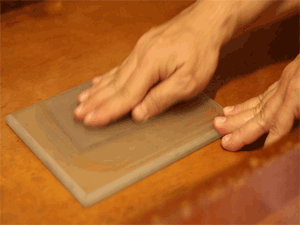 [/mks_one_half]
[mks_one_half]
About the movement, the video shows it better. I work also the corners of the thick glass in order to avoid making it concave over time. Maybe this is an excessive thing to care about. I guess I made a dozen of ground-glasses with it in 10 years.
[/mks_one_half]
[/mks_col]
[mks_col]
[mks_one_half]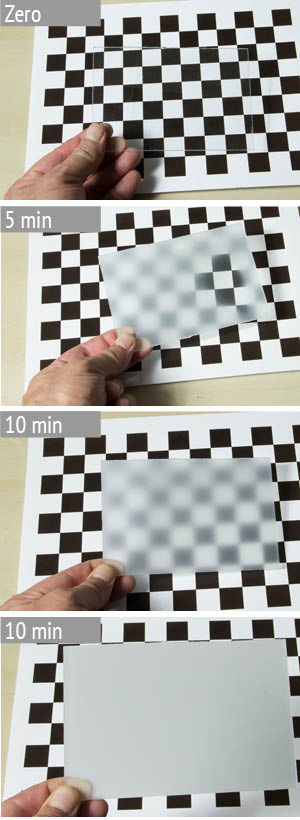 [/mks_one_half]
[mks_one_half]
On the left an idea of time. It goes fast for a mid sized glass. I set a timer to 5 minutes in order to show the progress and it was almost done when the alarm rang. Only a hole of yet polished glass was showing up after only five minutes.
In 10 minutes it was done all over, but I worked 5 minutes more just to be sure. The two pictures at 1o minutes are there just to show how it looks like when backed by the checkered paper. If it is too close you can realize more or less what is behind. But if you bring it a bit farther, it becomes just opaque.
For drying it out I wash it with kitchen detergent and let it dry alone or use a gentle blower. It is important avoid touching it as any grease material destroys the effect. But that is nothing that a new wash won’t fix. [/mks_one_half]
[/mks_col]
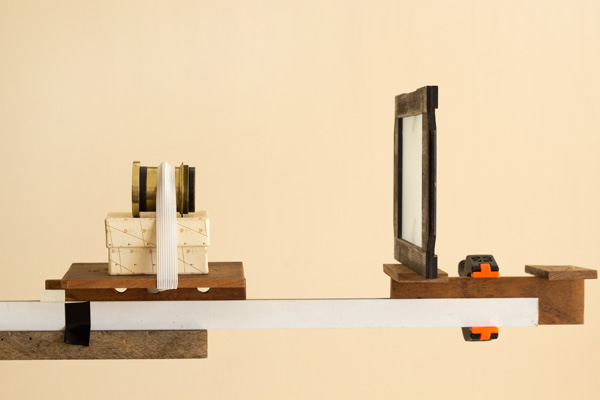
This specific ground-glass I made to use in this sophisticated optical bench that I intend to use to assessing the focal length of some old lenses I have. It worked very well. I use a loupe to check focus when special care is needed and even with magnification the ground-glass image remains fairly smooth and even. Feel free to comment, add, or ask questions. I will be glad to help if I can.